How-to
Retroid Pocket first setup: SD card, launcher and emulators in the right order
New Retroid Pocket? How to prepare the microSD card, finish Android setup, pick performance and fan modes, set up Retroid Launcher and choose emulators, per published setup guides.
By ElvisPublished Updated
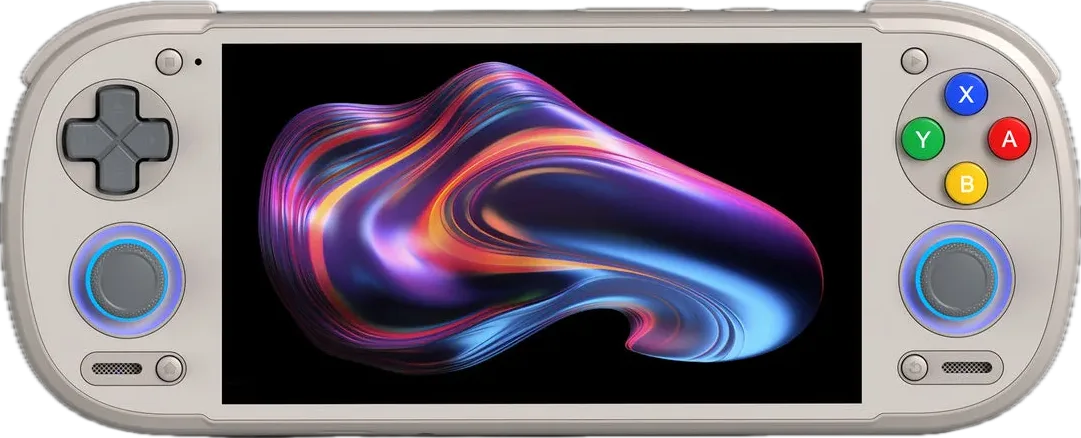
A new Retroid Pocket runs Android, so first setup is a short list: format and fill the microSD card, finish Android’s own setup, update the system, set the performance and fan modes, pick a launcher and install emulators. Do them in that order. Retroid’s product page for the Pocket 6 lists Android 13 and a TF card slot next to the internal UFS 3.1 storage, and the steps below come from setup guides at Joey’s Retro Handhelds and Retro Handhelds, not from Retroid documentation. Joey’s Pocket 6 guide gives the same performance and fan advice as its Pocket 5 guide. Retroid’s product page carries specifications, not a setup walkthrough. We haven’t run these steps on a device, and the guides were written for specific models, so check the one that matches yours.
1. Prepare the microSD card
Joey’s Retro Handhelds suggests doing this before you power on, with a card reader on a PC. Its steps for Windows 10 or 11:
- Plug the card into a reader, right-click the drive in File Explorer and choose Format.
- Set the file system to exFAT and the allocation unit size to the default.
- Create a folder named Roms, with one subfolder per system you plan to play. The page says there is no required structure.
Retro Handhelds’ Android guide also keeps a BIOS folder on the card, plus an UPDATES folder for Switch update files.
Joey’s SD card page also gives capacity tiers by the systems you want: 64 GB is of limited use on Android, 128 GB suits up to N64 and PS1, 256 GB suits up to GameCube, Wii and PS2, and 512 GB or 1 TB suits up to Switch. ROMs and BIOS files are yours to supply, and Retro Handhelds’ Pocket 5 guide lists the BIOS file names per system.
Then insert the card in the device. A notification offers to set it up: tap Set up and choose Portable storage, not Internal storage, as both Joey’s and Retro Handhelds say.
2. Finish Android setup and update
Per Retro Handhelds’ Android guide, connect to Wi-Fi, set the time zone and sign in to a Google account only if you want Play Store downloads. If a launcher choice appears, the guide takes the stock Android option, while Joey’s launcher guide says you can choose Retroid Launcher at this point. Joey’s says the launcher can also be set as the default later under Android Settings > Apps > Default Apps > Default Home app.
Joey’s Pocket 5 guide then says to open Settings > System > Updater and check for a system update, and to install pending Play Store updates after signing in.
3. Set performance and fan modes
Joey’s Pocket 5 guide recommends Standard or Performance mode for most use, and High Performance only in some cases such as Switch emulation. It pairs Quiet fan mode with Standard or Performance, and Smart with High Performance. Joey’s Pocket 6 guide gives the same advice. Joey’s guide also mentions a Floating Icon, a white bar on the right during games that shows FPS, temperature and button mapping.
4. Pick a launcher
Joey’s says Retroid Launcher is the stock frontend, and Retro Handhelds’ Pocket 5 guide says Retroid introduced a redesigned launcher of its own. Retro Handhelds lists alternatives: ES-DE, Daijisho, Console Launcher, LaunchBox, Beacon, Plain Launcher, Pegasus and others. Joey’s names Daijisho, EmulationStation, Beacon and Cocoon and says most people should use Daijisho, Beacon or EmulationStation instead of Retroid Launcher.
For Retroid Launcher, Joey’s guide goes in this order:
- Skip the tutorial prompt on first run, then open the Update tab to check for a launcher update. If it hangs on “Checking for updates” for more than 30 seconds, the guide says your version is too old for that route and points to downloading an APK from the GitHub tab.
- Open the download icon, tick the systems you want (the author prefers choosing individually to avoid clutter) and tap Download.
- In Settings, turn off both options under Launching, because the guide says otherwise the launcher may pick a temporary or unwanted emulator.
- Select a system, press X for Details and the pencil icon. On the Config tab, choose an emulator or core you have installed. On the Directories tab, add your ROM folder and tap Synchronize.
Two errors the guide explains: “specified core does not exist” means you picked a RetroArch core you haven’t downloaded, and “specified file does not exist” usually means the game folder also has to be added inside the emulator itself.
5. Install emulators
Joey’s Pocket 5 guide suggests Obtainium for installing and updating emulators from one place. It also says to use RetroArch’s stable build, not the Play Store version, for systems up to PS1. For the rest it lists standalone emulators:
- PS1: DuckStation, which it prefers over SwanStation for performance and upscaling.
- PS2: ARMSX2. PSP: PPSSPP. Vita: Vita3K+.
- 3DS: Azahar. DS: WatermelonDS. GameCube and Wii: Dolphin. Wii U: Cemu.
- N64: M64Plus FZ Pro, a paid Play Store app, or RetroArch’s Mupen64Plus-Next core if you need RetroAchievements.
- Switch: Eden.
Emulator picks change fast. Retro Handhelds’ Pocket 5 guide, last updated September 14, 2026, suggests different apps for some systems, such as CitraEnhanced for 3DS (it also still lists Lime3DS, which Retro Handhelds reported in November 2024 had merged into Azahar) and AetherSX2 or NetherSX2 for PS2, and recommends RetroArch cores such as Snes9x, Gambatte, mGBA and Flycast for the rest. The two lists differ, and Joey’s pages carry no dates, so check each emulator’s current page before installing. Which systems your handheld can run is a question for its device page and our best Android handheld guide, not for this list.
Model notes
Retro Handhelds’ Pocket Classic guide covers the vertical model. It makes BIOS and ROMs folders from the Files app, on internal storage or the card, and lists third-party launchers for it. See the Pocket Classic and Pocket 5 pages for their specs.
Questions
Do I need a Google account on a Retroid Pocket?
Not to use the device. Retro Handhelds' Android setup guide calls sign-in optional and says it is needed only to download from the Play Store. Retro Handhelds' Pocket 5 guide points to Obtainium for installing and updating apps that aren't from the Play Store.
Why should I choose portable storage for the microSD card?
Joey's Retro Handhelds says to pick Portable storage, not Internal storage, when the setup popup appears. Retro Handhelds' Android guide gives the reason: portable storage is the better option if you want to change or add ROMs later, and you can eject the card without complicating the handheld. Joey's gives the step without a reason.
Which microSD size should I buy?
Joey's Retro Handhelds ties the size to the systems you want: 64 GB is limited on Android, 128 GB suits up to N64 and PS1, 256 GB up to GameCube, Wii and PS2, and 512 GB or 1 TB up to Switch. Joey's Pocket 5 and Pocket 6 guides both recommend a 512 GB or 1 TB card, and Retro Handhelds' Pocket 5 guide lists brands such as Samsung PRO Plus (512 GB), Silicon Power Superior (1 TB) and SanDisk Extreme (1 TB).
Do these steps match every Retroid Pocket?
Mostly, since all are Android handhelds, but the guides we cite were written for specific models. Joey's wrote one for the Pocket 5 and one for the Pocket 6, and Retro Handhelds wrote guides for the Pocket 5 and the Pocket Classic. Menu names, the performance-mode list and the emulator picks can differ on the Pocket 6, so check the model line in each guide.
Official sources
- Retroid Pocket 6 product page (specifications: Android 13, UFS 3.1 storage plus TF card slot) · Retroid · Manufacturer
Reviews and reports cited in this guide (8)
- Retroid Pocket 5 Setup Guide · Joey's Retro Handhelds · Review
- Retroid Pocket 6 Setup Guide · Joey's Retro Handhelds · Review
- Preparing an SD card for Android Retro Handhelds & Devices · Joey's Retro Handhelds · Review
- Retroid Launcher Setup Guide · Joey's Retro Handhelds · Review
- Retroid Pocket 5 Setup Guide (and Mini!) · Retro Handhelds · Review · November 18, 2024
- Retroid Pocket Classic Setup Guide · Retro Handhelds · Review · June 3, 2025
- An In-Depth Android Handheld Setup Guide · Retro Handhelds · Review · February 14, 2024
- Lime3DS and PabloMK7 Citra Fuse Into Azahar · Retro Handhelds · News · November 16, 2024
Spotted a mistake or a step that no longer works? Tell us and we'll correct it.